Applying for the 190 Skilled Nominated Visa is a significant step toward securing permanent residency in Australia. However, during the processing of your visa application, you may receive a Request for Further Information (RFI) from the Department of Home Affairs. An RFI is not uncommon and usually means the case officer needs additional documents or clarification before making a decision. In this guide, we’ll walk you through the steps to respond effectively to an RFI, ensuring your application stays on track.
What is a Request for Further Information (RFI)?
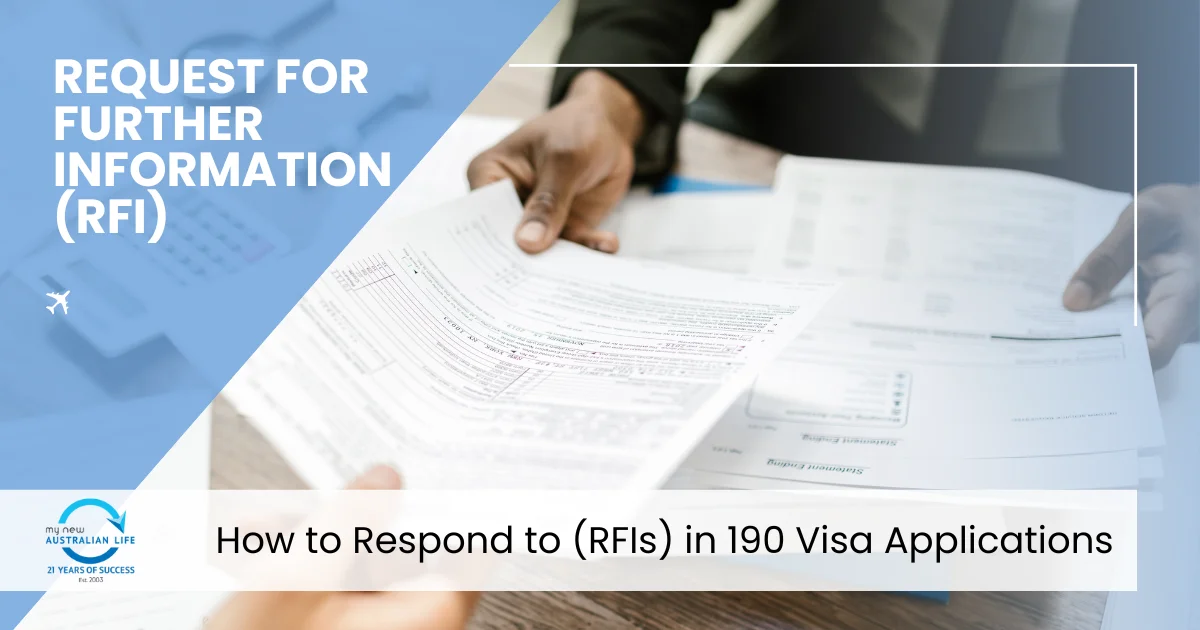
A Request for Further Information (RFI) is a formal notice from the Department of Home Affairs asking for additional documentation or clarification regarding your 190 Visa Application. Receiving an RFI doesn’t mean your application is in jeopardy; rather, it provides you with an opportunity to strengthen your case by supplying the necessary information.
Some common reasons for receiving an RFI include:
- Missing documents.
- Incomplete or inconsistent information.
- Expired police clearances or medical checks.
- Additional proof of employment or educational qualifications.
Understanding the RFI Process
When you receive an RFI, it typically includes:
- A clear description of the documents or details required.
- A deadline for submitting the requested information.
- Instructions on how to upload documents to your ImmiAccount.
| Step | Action | Description |
|---|---|---|
| 1 | Read Carefully | Understand what documents or clarifications are needed. |
| 2 | Gather Documents | Collect the necessary evidence as specified in the RFI. |
| 3 | Verify Information | Double-check all details for accuracy and completeness. |
| 4 | Upload Documents | Submit the requested documents via your ImmiAccount. |
| 5 | Confirm Submission | Ensure you receive a confirmation that your documents have been submitted. |
Steps to Respond to an RFI for Your 190 Visa
1. Carefully Read the RFI
When you first receive an RFI, take your time to thoroughly read through the entire document. Understand the nature of the request and identify the specific documents or information required. Pay close attention to the deadline for submission, as missing this can negatively impact your application. If there are multiple points in the RFI, break them down into smaller tasks to ensure nothing gets overlooked.
2. Organize Your Documents
Start by creating a checklist of all the documents requested in the RFI. This helps ensure you don’t miss any critical items. Some common documents you may need to provide include:
- Passport bio-data page: A clear copy of the page containing your personal information.
- Proof of English proficiency: Test results from IELTS, PTE, or other accepted tests.
- Skills assessment outcome: Official documentation from the assessing authority relevant to your occupation.
- Employment references: Letters from previous employers detailing your work experience.
- Police clearance certificates: Certificates from every country where you’ve lived for more than 12 months in the past 10 years.
- Health examination reports: Medical assessment results, if requested.
Additional TIPS! For ease of tracking, arrange the documents in the same order they are requested in the RFI.
3. Verify and Double-Check
Before uploading your documents, take a moment to verify all the information. Check that:
- The documents are current and not expired.
- All personal information matches what you provided in your initial visa application.
- The scanned copies are clear, legible, and free from errors.
Errors or omissions can cause unnecessary delays, so ensure everything is accurate. If you’re unsure about any part of the request, consider seeking professional advice.
4. Upload Documents to ImmiAccount
Once your documents are prepared and verified, log into your ImmiAccount. Follow these steps to upload your documents:
- Navigate to your visa application.
- Click on the “Attach Documents” section.
- Upload each document according to the category specified (e.g., identity, health, character, etc.).
- Use clear and descriptive file names, such as “John_Doe_Passport” or “IELTS_Score_Report,” to avoid confusion.
- Double-check that each document has uploaded correctly before moving on.
5. Submit and Track
After uploading all the necessary documents, submit your response through ImmiAccount. You should receive a confirmation message or email indicating that your submission was successful. It’s a good practice to:
- Keep a record of the submission confirmation.
- Save digital copies of all documents and the submitted RFI response.
- Monitor your ImmiAccount regularly for further updates or communication from the Department of Home Affairs.
Tips for a Successful RFI Response
- Be prompt: Submit your documents well before the deadline.
- Be thorough: Provide detailed explanations where required.
- Seek help if needed: Consider engaging a registered migration agent if the RFI seems complex.
People also read: 190 Visa Processing Time: Everything You Need to Know
What Happens After Submitting Your RFI Response?
After submission, the Department of Home Affairs will review your additional information. Processing times can vary, but responding promptly and accurately improves your chances of a quicker decision.
| Stage | Action Required | Outcome |
| Submission | Upload documents to ImmiAccount | Confirmation email received. |
| Review Process | Department reviews documents | Additional RFI or decision. |
| Decision Notification | Receive outcome | Visa grant or refusal. |
Frequently Asked Questions (FAQs)
1. Can I extend the RFI deadline? In exceptional cases, you may request an extension by contacting the Department of Home Affairs, but it is not guaranteed.
2. What if I don’t respond to the RFI? Failure to respond may result in your 190 Visa Application being refused.
3. Can a migration agent help with RFIs? Yes, registered migration agents can help you understand the requirements and ensure your response is accurate and timely.
For official guidelines, visit the Department of Home Affairs.
Final Thoughts
Responding to a Request for Further Information (RFI) in your 190 Visa Application is a crucial step in securing your Australian permanent residency. By understanding the process, organizing your documents, and submitting a thorough response, you can ensure your application proceeds smoothly. If needed, seek professional guidance to help navigate the complexities of the visa process.
Would you like assistance with drafting a response letter or preparing your documents? Let us know, and we’ll guide you every step of the way.